Make a no-gravel bottom look like sand
 Using gravel on the bottom of your aquarium has been common practice for years, and it isn't just for looks. Gravel can perform several important tasks, such as adding to your biological filtering, anchoring plants, protecting the bottom from falling objects (like large rocks) or covering an undergravel filter. It also keeps light from shining up through the bottom of the tank and fish don't like having a light source beneath them. However, it can also become a real mess. Gravel beds require regular vacuuming, except in certain planted tanks. If all the fish waste is allowed to build up in the gravel, it can go anaerobic and start to produce hydrogen sulfide gas, which is deadly to fish. I've seen it happen. Years ago, while vacuuming the gravel in a 30 gal. community aquarium, a bubble of gas came up out of my skanky gravel and intersected with a cory catfish. The fish immediately did several wild loops through the water and fell stone cold dead. So I've come to dislike the mess that a deep gravel bed can harbor.
In many cases, it is better to have a bare-bottom tank (BBT). If you are a fan of Pet Fish Talk, then you've certainly heard the Bailey brothers recommending no more than 1/4" of gravel, if any at all. Less gravel cleaning? Count me in! But then in practical terms, a BBT has some visual problems. It can be downright ugly. First, there's the reflections off the bottom that you can see when standing in front of the tank. Also, the tank looks dirty or dingy quicker because fish waste and other crud tends to accumulate on the bottom. You can scrub it out, but in a few days, it's back to where it was. So how do you make a bare-bottom tank look great?
The project:
In this project, I'll show you how to paint the outside bottom to look just like sand.
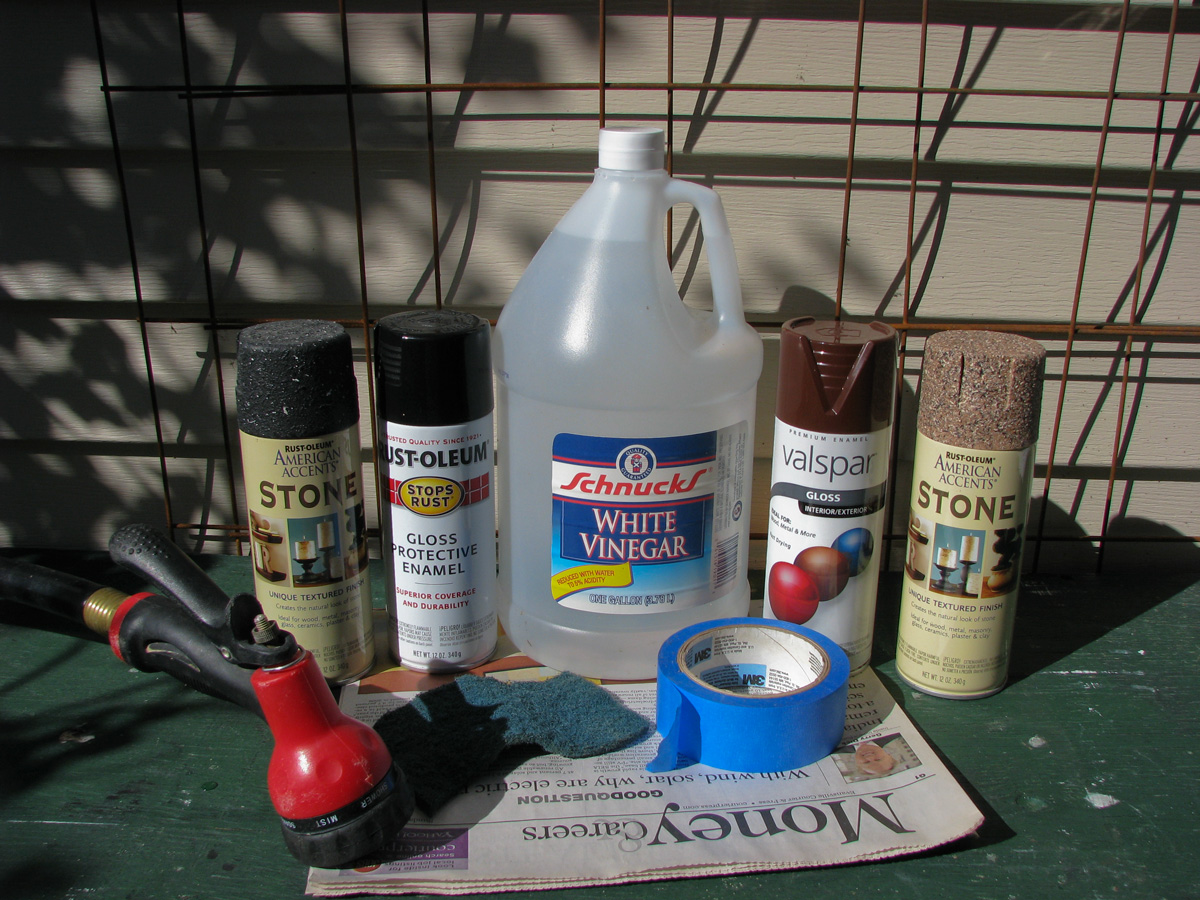
What you will need:
- A tank that you don't mind painting
- Rust-oleum® American Accents® Stone Texture Paint, or similar product
- Matching enamel spray paint, such as Valspar® Gloss Enamel
- Blue painter's masking tape
- Old newspaper or other masking material
- White vinegar
- Medium duty scrubbing pad, preferably labeled for use in aquariums
- Gloves to protect against the vinegar
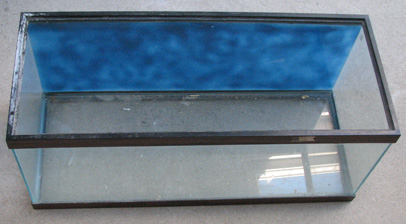
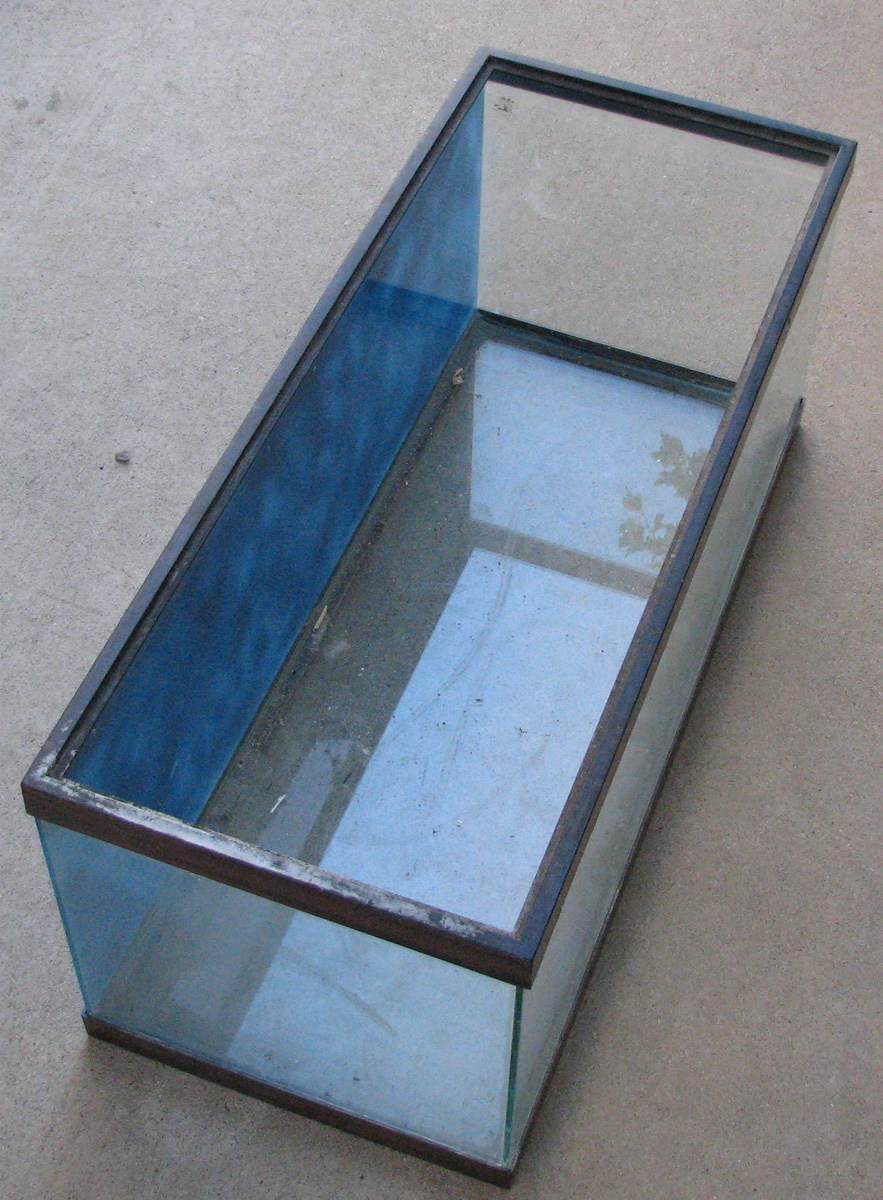
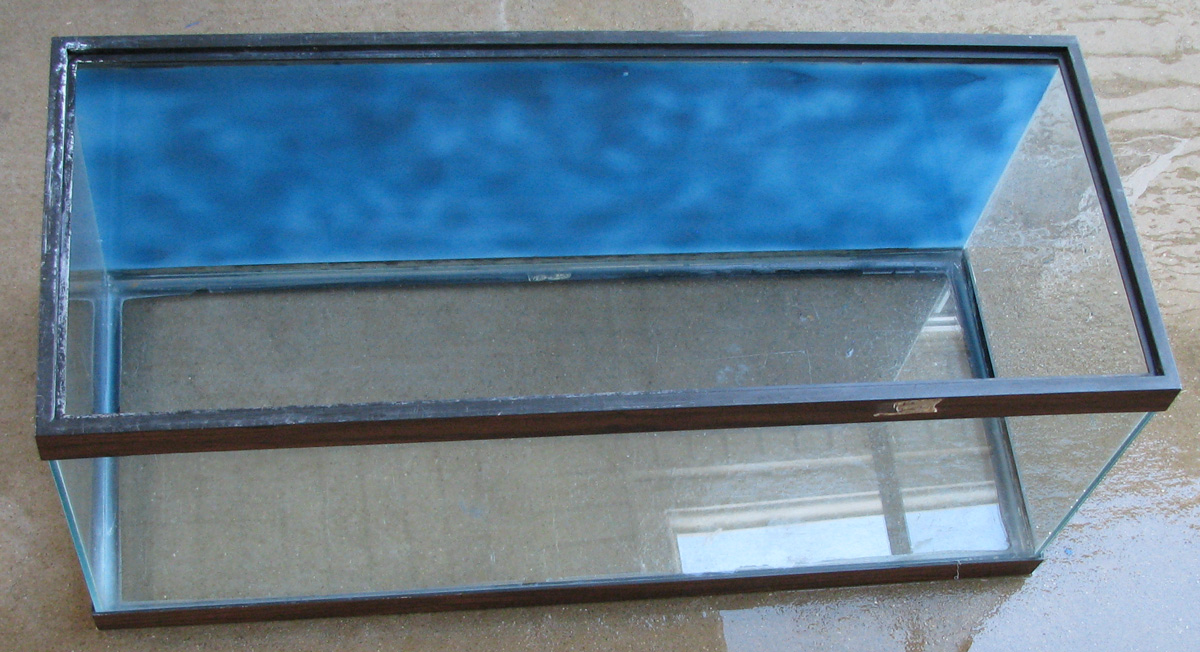
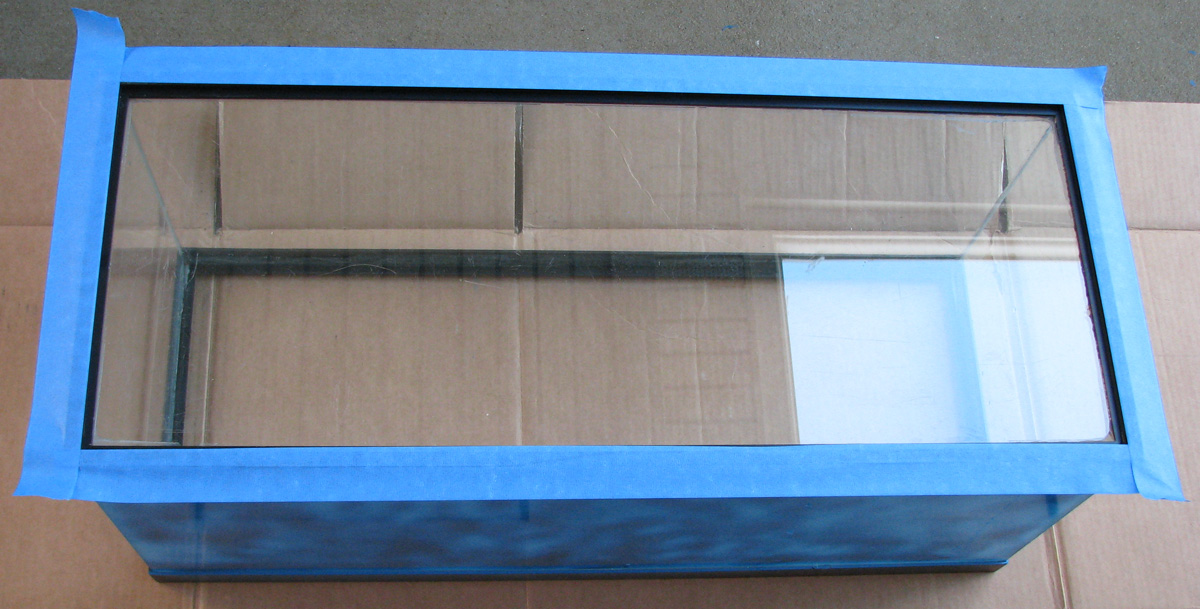
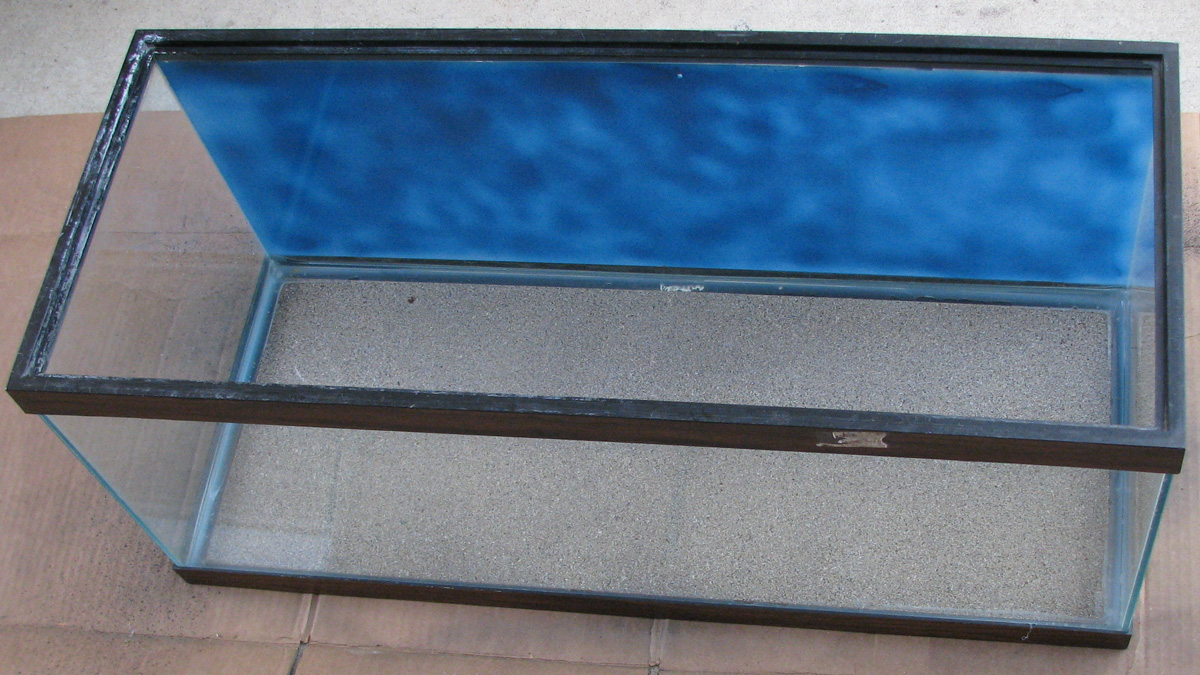
I had a couple of 20 gal. long tanks that needed to go on an iron stand which I planned to use for fry and juveniles, but neither one had the bottom painted. Here are two different views of one of the tanks. Notice how much reflection there is on the bottom. Note the mottled blue background spray painted on the back of the tank. That isn't my work ...I got it that way and I chose not to repaint it to save time and money. It actually looks much better than this once it is in the fishroom and out of direct sunlight.
The tanks needed a little cleaning, so first I grabbed the gallon of white vinegar, a medium duty (blue) scrubbing pad, and some gloves. The tanks were rinsed out with a hose, then I poured vinegar in the bottom and scrubbed them inside and out with the pad, rinsing thoroughly afterwards. This helps the paint stick later and generally helps clean the debris and remove some of the hard water deposits. These tanks came from a breeder who had some sort of liquid rock water, so the vinegar didn't get all the deposits off the glass and trim, but it was an improvement. With more effort, the tank could have been cleaned completely.
After rinsing the tank, flip the tank upside-down and use paper towels to completely dry the outside bottom of the tank. Water will probably get up under the trim and will seep out for a day or two. It is easiest to just wait a couple days, but if you plan to paint the same day, then really try to get all the water out from under the trim. Otherwise it will wick out and bubble up the paint on the edges, possibly creating gaps.
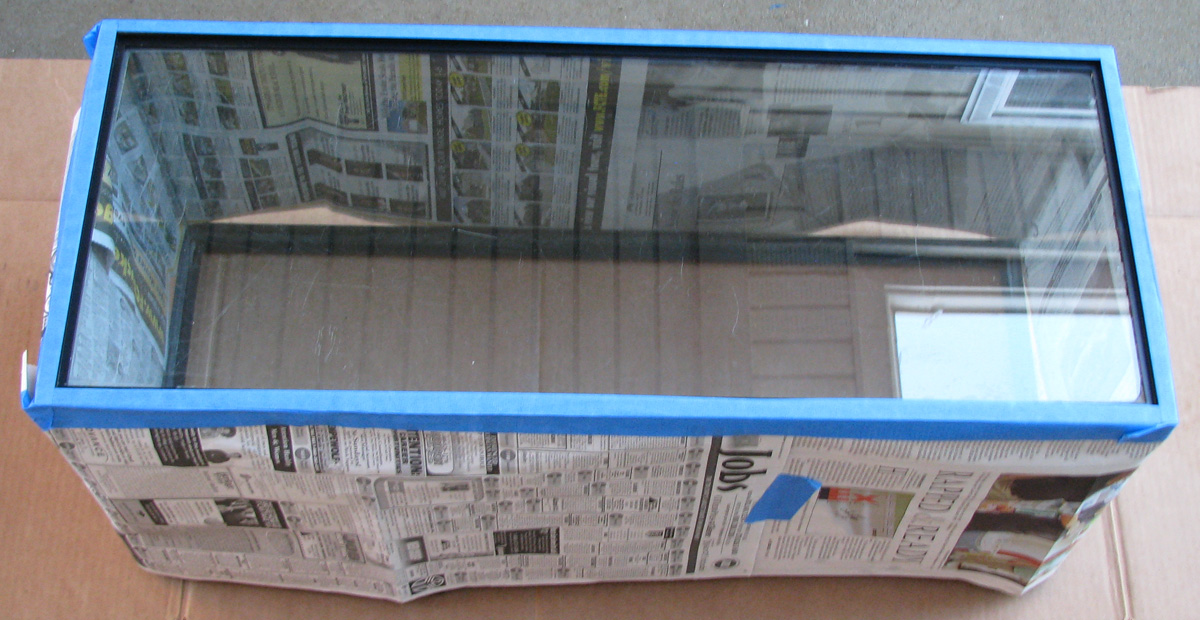
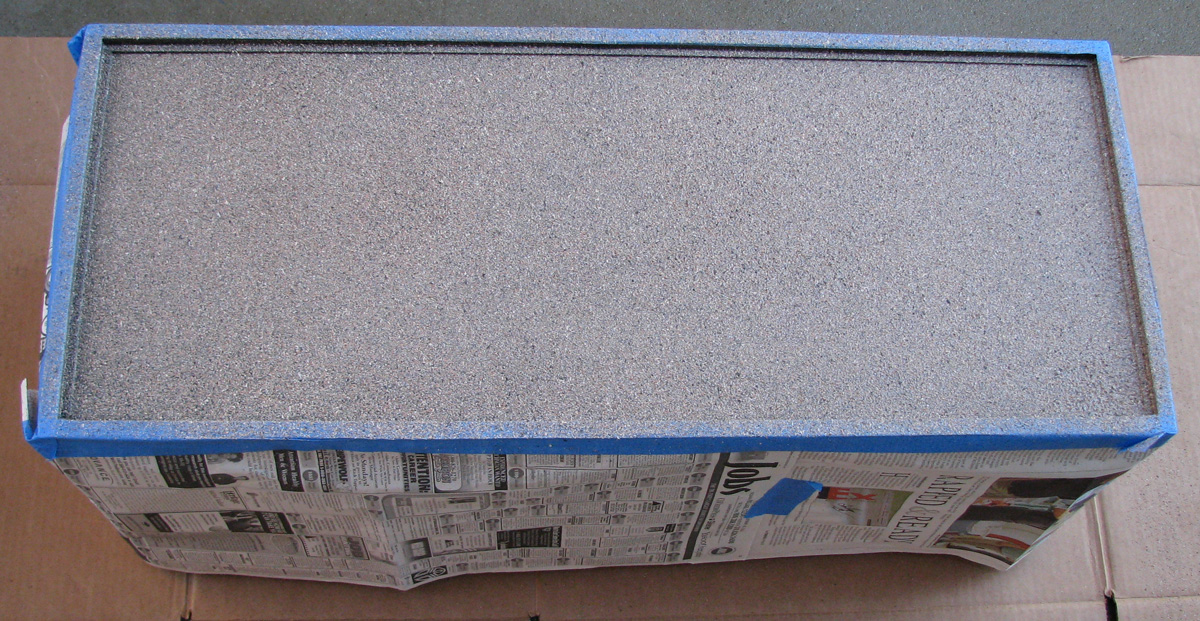
Next, the glass needs to be masked off with the newspaper to keep over spray from getting all over the place. It's no fun to have to go over the entire outside surface area with a razor blade just because you thought you didn't need to cover the glass. I apply the tape to the edge of the trim that will sit on the stand to keep paint off. If there is paint on that surface, the tank can get stuck to a painted stand after months or years of all the weight of the water.
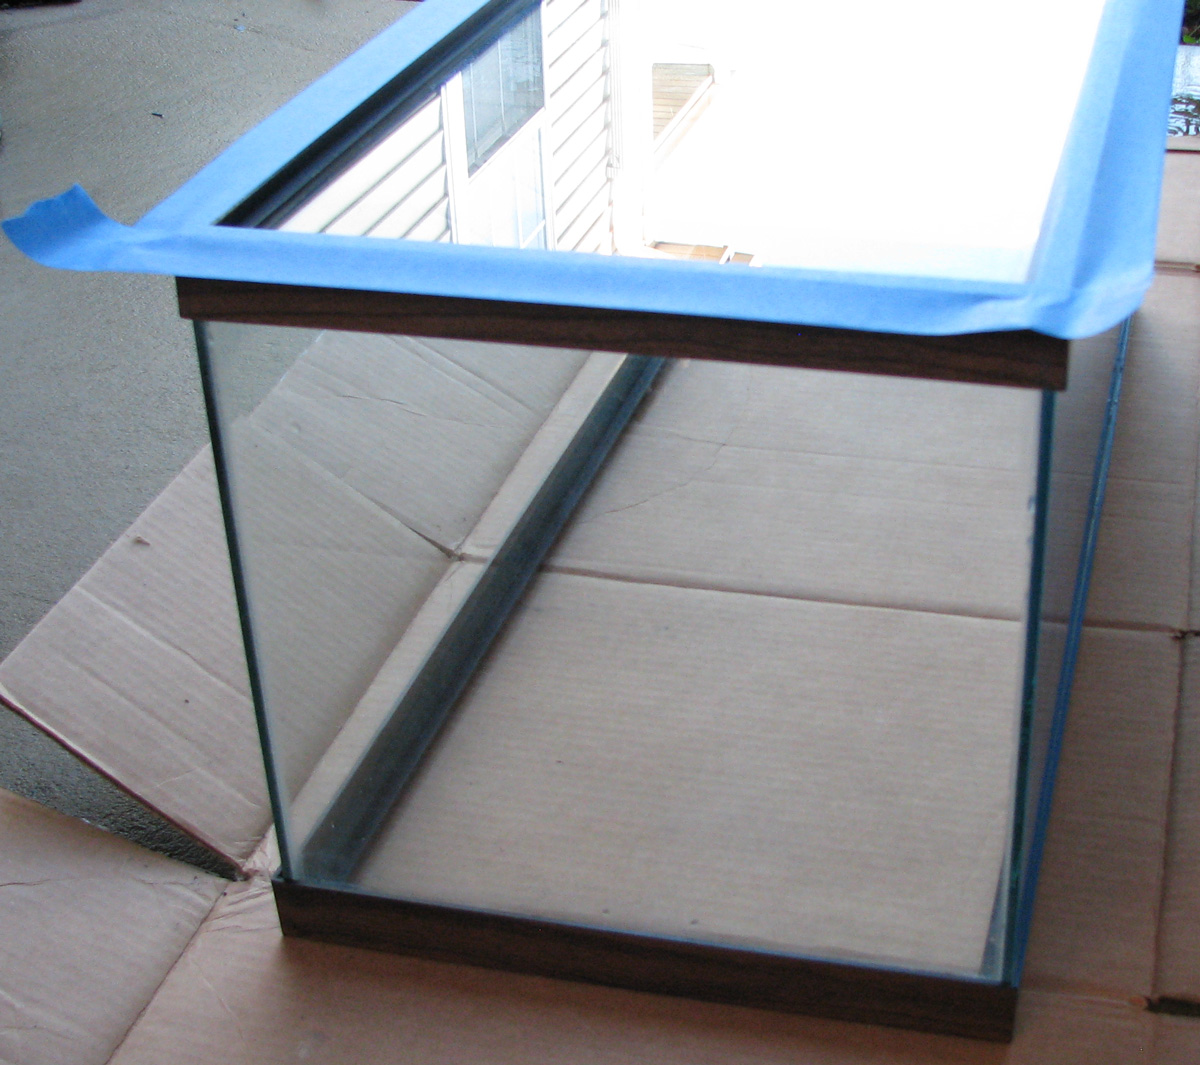
Then just place the newspaper up against the sides and fold the tape down. Overlap each piece and add tape where necessary to make sure no over spray gets on the sides.
Make sure your tank to be painted IS NOT ANYWHERE NEAR YOUR FISH!! Take it out of the fishroom and preferably outside on a day when there's no wind.
Spray 2 or 3 coats of the texture paint a few minutes apart. Spray side to side and overlap each stroke about 50%. Be sure to get enough in the corners and on the edges. It is best to have the bottom completely level so that you don't have to worry about paint running. Maybe if you are a better spray painter than me, you can avoid that problem, but otherwise keep it simple for yourself.
Then let the texture paint dry for 24 hours. It may take more or less than a day depending on temperature and humidity.
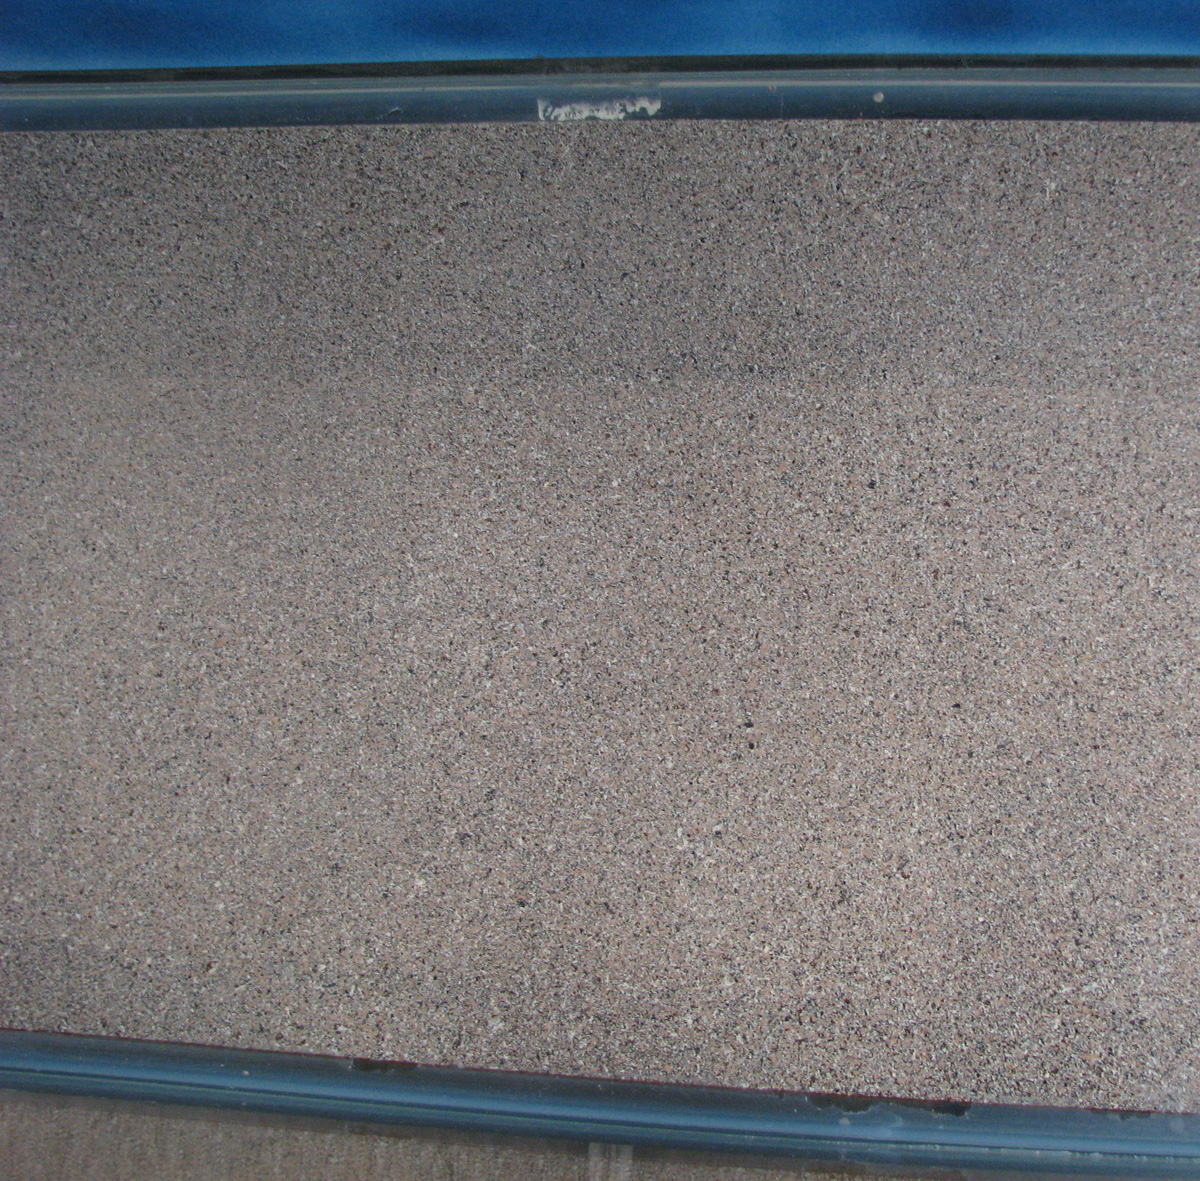
Natural sand (Sienna Stone paint):
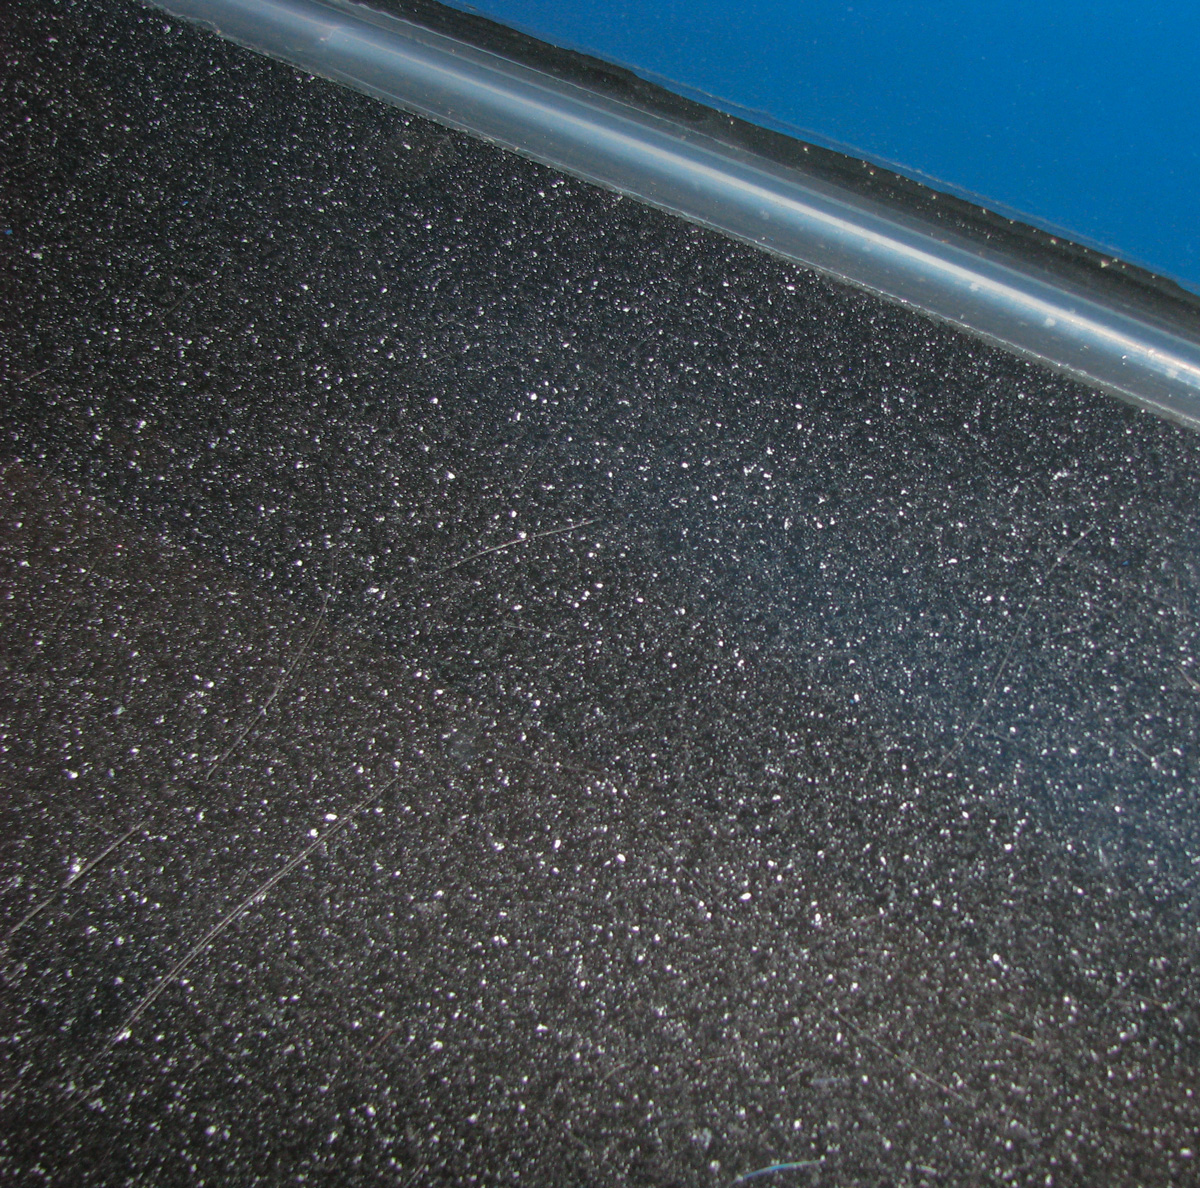
Black sand(Black Granite paint):
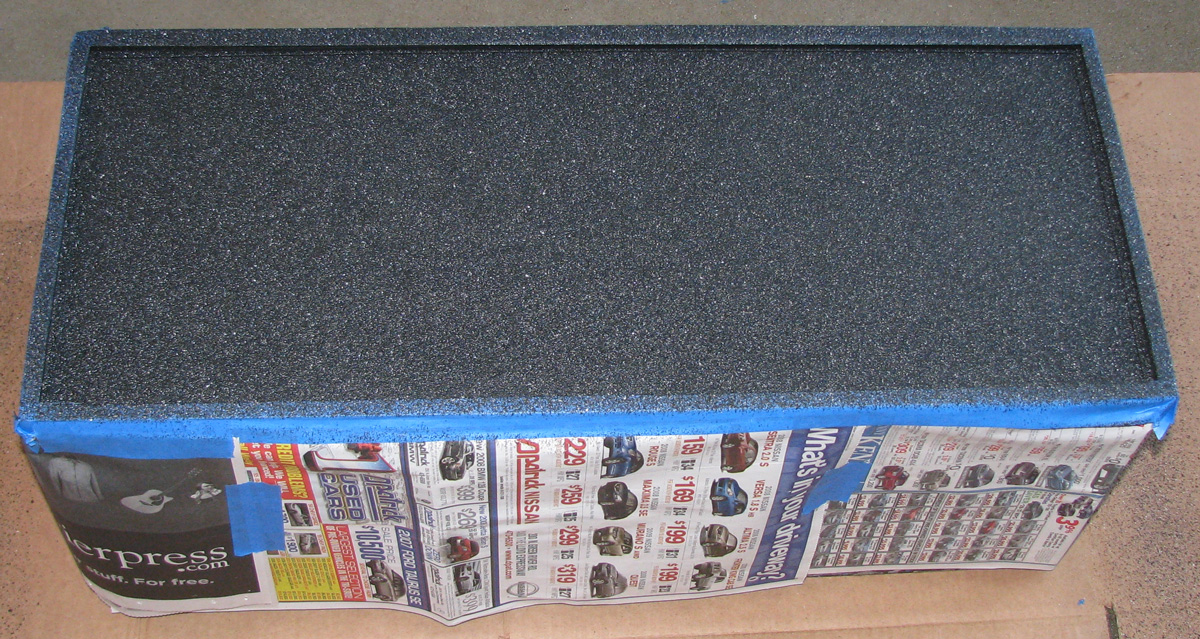
Black sand side view:

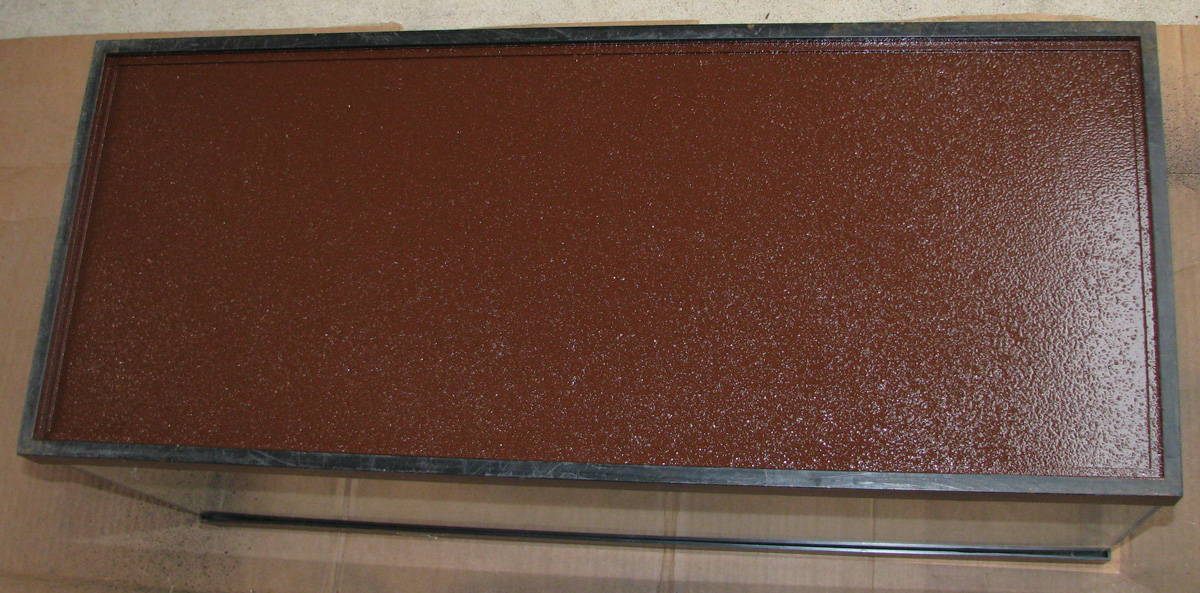
After the texture paint is completely dry, apply a matching coat of gloss enamel spray paint. For the colors above, the closest was buckeye brown made by Valspar® for one tank and black for the other. Theoretically, you could use the texture paint and get it thick enough to block out all the light, but that would be very expensive since that paint is over $8 per can. Apply 2 or 3 coats of the gloss enamel 15 minutes apart and let that dry for another 24 hours. Then you can remove the tape. Notice how there's no paint on the outermost part of the trim? That's the part that will stick to your stand if you paint it.
Brown overcoat on natural sand bottom:
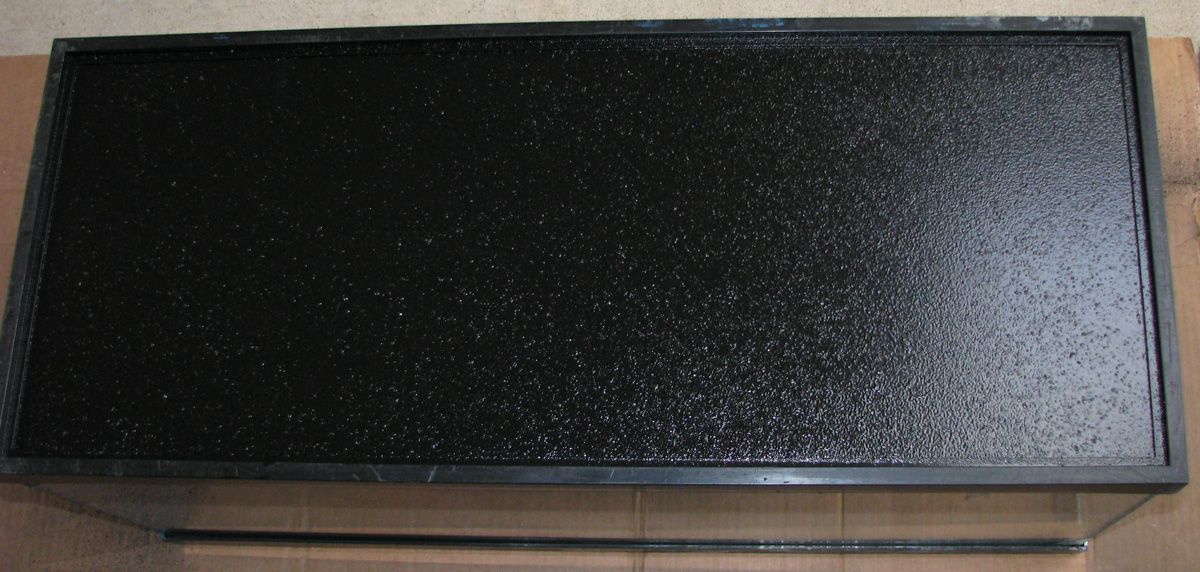
Black overcoat on black sand bottom:
See the difference:
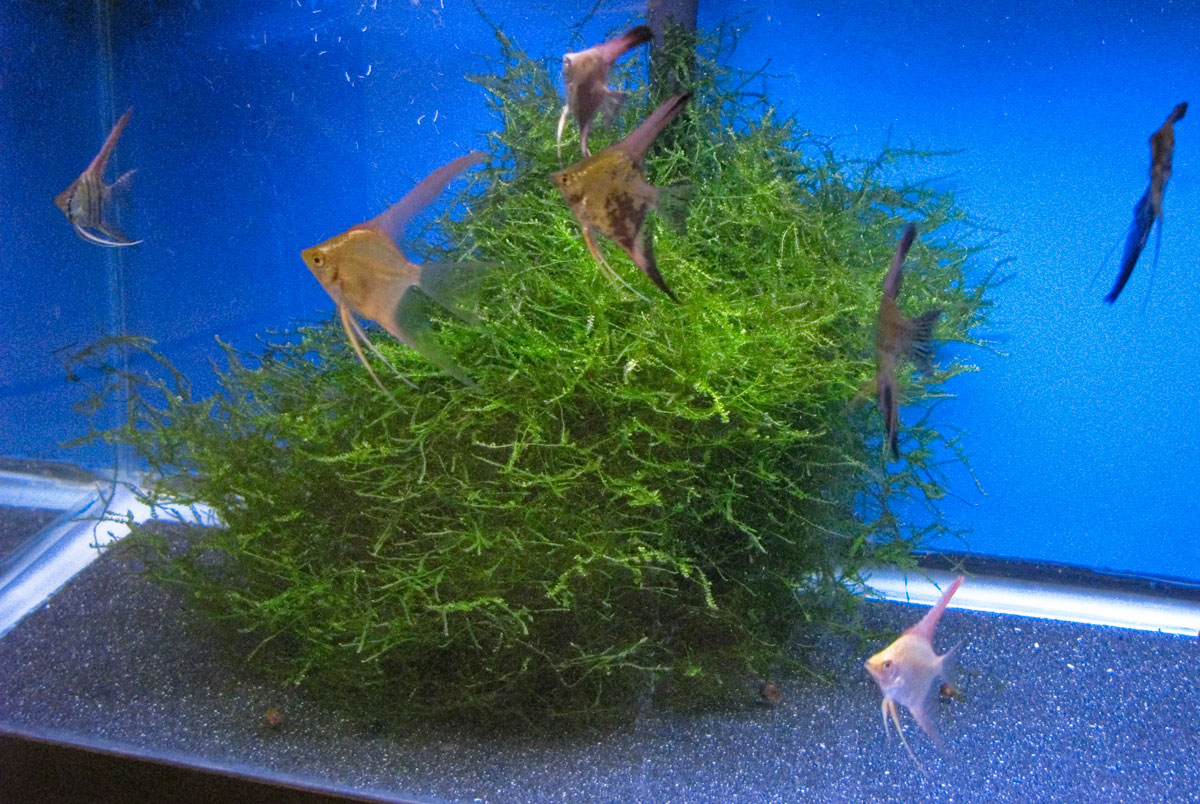
After painting around a dozen tanks, I've found that while black sand with a black background can look great, it probably isn't the best place to display fish - especially black fish! My favorite is the natural sand with a blue background.
Finished tank with java moss and angelfish fry:
![]()
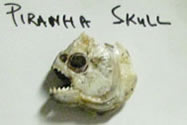
Great place, but you can't go there!
The Piranha Realm was a public aquarium in Hazelwood, MO, but it is currently shut down. They had 12 - 4000 gallon tanks with some great fish. Click here to see the photo gallery.
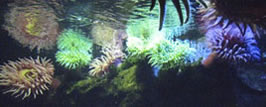
Newport Aquarium Photo Gallery
We've got nearly 150 pictures from the Newport Aquarium located just across the Ohio River from Cincinnati, OH. Newport Aquarium Photo Gallery.
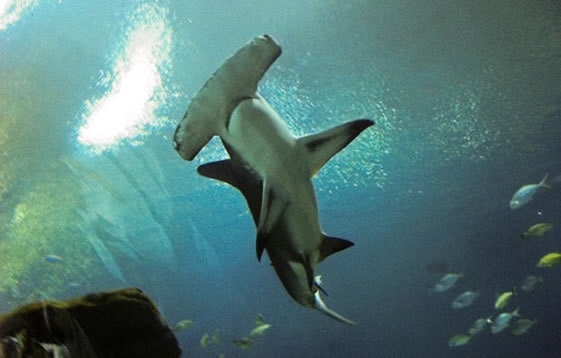
Georgia Aquarium Photo Gallery
No fishhead should go another month without visiting the Georgia Aquarium. Just one of the tanks is 6.3 million gallons! Check out the Georgia Aquarium Photo Gallery to see why you need to schedule your trip today!
Where to eat with the fishies!
Imagine eating in a restaurant that has a 200,000 gallon aquarium right in the center! Be sure to visit the Nashville Aquarium Restaurant Photo Gallery to see what that would be like.